Get Started with DIY API
#
How this works- Choose a project idea
- Pick the components that you need
- Assemble the code and build
- Try it on container run it on hardware
#
See Video Tutorial#
Learn from an example#
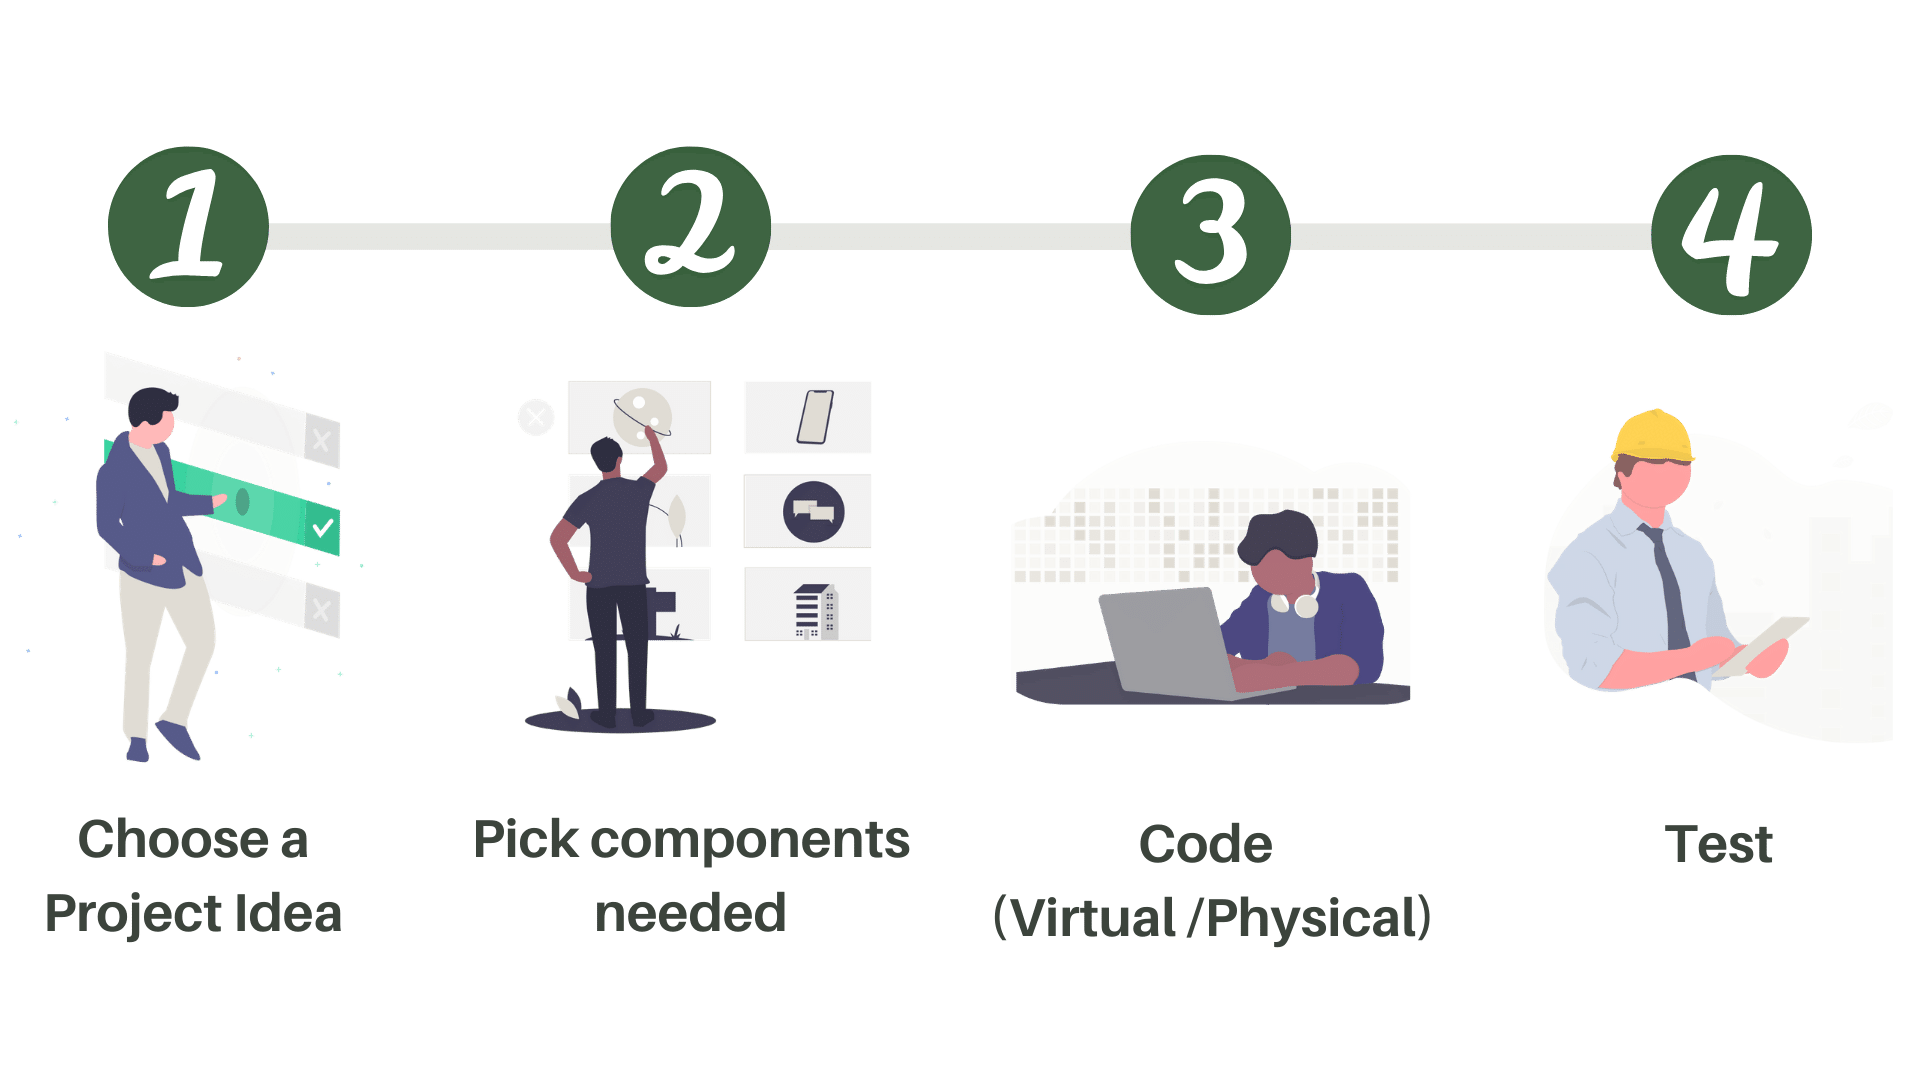
Step 1: Choose a project IdeaLets say my project Idea is
Project Idea: I want to unlock a door with Face recognition.
#
Step 2: Pick componentsinfo
Image is interactive, Click on the Image to see the components in detail.
#
Step 3: Get EnvironmentYou can code, build and deploy Shunya AIoT using
- Docker containers
- Shunya supported ARM (armv7 & armv8) Development boards
Try example on Docker Container
#
Requirements- Good Internet Connection
- Docker Installed on your system.
#
Steps are- Pull the Shunya OS docker image
- Run the docker container
Pull shunya OS docker image, by running command in the terminal
Run the docker container, by running command in the terminal
This will bring you to Terminal inside the docker container.
Now you can download, build and run the code using inside the docker container.
Try example on Hardware
#
Requirements- Shunya OS supported Development board (RaspberryPi 4)
- Power supply for the board (5V 3A power supply for RaspberryPi 4)
- microSD card
- microSD card Reader
- Laptop/PC
#
Steps are :- First we load Shunya OS on your board.
- Boot up Shunya OS
#
Install EtcherEtcher allows you to Flash Shunya OS on the micro-SD card.
- Windows
- Ubuntu
#
For Ubuntu 16.04Installing Etcher is Simple, download the executable file and Run.
- Download balenaEtcher for Linux.
- Extract the zip file.
- Run AppImage
sudo ./balenaEtcher-xxx.AppImage
#
For Windows 10Installing Etcher is Simple, download the executable file and Run.
- Download balenaEtcher for Windows.
- Run balenaEtcherSetup-xxx.exe
#
Flash Shunya OSDownload Shunya OS
Extract Downloaded zip file, by Right clicking on the downloaded zip file and selecting "Extract Here".
.img
file in the extracted folder contains Shunya OS.Insert SD card with Card reader.
Open Etcher program.
Click Select Image.
Select Shunya OS file
shunya-{type}-image-{board-name}.img
file.For example:
shunya-console-image-raspberry4.img
note
Shunya OS released in 3 variants
- tiny - Extremely Small footprint image use only for final deployment.
- minimal - Small footprint image use only for final deployment testing.
- console - Full console only image use only for development.
At this stage it is recommended that you use console variant
Your SDCard should be auto detected in Etcher.
Click on Flash.
Now Etcher will load the Shunya OS on your SD card.
Now you can boot up the Shunya OS on your board.
#
Booting Up with Shunya OS- Insert the micro-SD card into the board.
- Connect peripherals like Keyboard, Mouse and HDMI monitor.
- Connect Power Supply.
The board should boot up with Shunya OS.
#
Login to ShunyaLogin with these credentials:
- Username : shunya
- Password : shunya
- This will bring you to Terminal inside the board.
- Now you can download, build and run the code using inside the board.
#
Step 3: Assemble code and RunFor our example idea we would have to pick, these components
- Face Recognition
- Relay (for door Unlock)
- Each of these components contain the steps to code, compile and run.
- Following these steps will lead to our example idea getting implemented in code.