Sensors Simple API
What are Sensors?
Sensors are small electronic devices used measure an enviornmental quantity (for eg: temperature, pressure..)
List of features implemented in Shunya stack
With Shunya stack you can Measure these enviornmental Changes
- Voltage
- Light Intensity
- Distance
- Heart Rate
- Liquid Flow
- Motion Thershold
- Proximity Threshold
- Touch Threshold
- Light Thershold
- Tilt Thereshold
- Generic Digital pin
List of Sensors supported by Shunya stack
| Class | Sensor | Image | Sensor ID |
|---|---|---|---|
| Voltage | |||
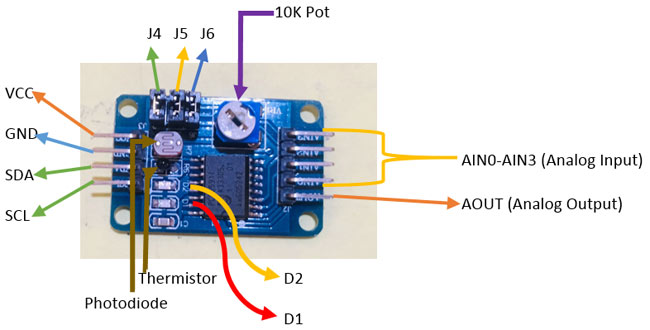
| PCF8591 |  | 6 | |
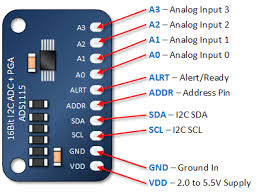
| ADS1115 |  | 18 | |
| Light Intensity | |||
| BH1750 |  | 7 | |
| Distance | |||
| HCSR04 |  | 8 | |
| Heart Rate | |||
| SEN11574 |  | 9 | |
| Liquid Flow | |||
| YFS201 |  | 10 | |
| Motion Thershold | |||
| PIR |  | 11 | |
| Proximity Threshold | |||
| IR Proximity sensor |  | 12 | |
| Touch Threshold | |||
| Touch Sensor |  | 13 | |
| Light Thershold | |||
| Light Blocking Sensor |  | 14 | |
| Tilt Thereshold | |||
| KY_017 |  | 15 | |
| KY_025 |  | 16 | |
| BALL_SWITCH |  | 17 | |
| Generic Digital pin | |||
| Any GPIO sensor | -- | -- |
Using Sensors with Shunya stack
Requirements to use Sensors with Shunya stack
- Shunya OS installed (supported Arm devices)
- Respective Sensors connected to the supported Arm device
Steps to use Sensors with Shunya stack
- Connect Sensors to your board.
- Set Sensor settings in Shunya.
- Read from sensor to get the desired value.
note
Run the steps given below inside Shunya OS installed (supported Arm devices)
Step 1: Connect Sensors to your board
- A quick search on Google will lead to images of the connection daigrams for each sensor.
- Note down which Sensor pin is connected to pin on the Device.
Step 2: Set Sensor settings in Shunya.
Set Sensor settings, by editing the config file /etc/shunya/interfaces/config.yaml inside Shunya OS.
A simple configuration should Tells Shunya OS your hardware connections.
Sensor ID's and Connection ID's
You tell all your Hardware connections to Shunya OS via Sensor ID's and Connection ID's.
note
There is no need to tell Shunya OS the Power connections i.e Vcc and GND. Shunya OS assumes that those are connected to the respective Pins for sensor to work.
Each Sensor is given a special ID which the Shunya OS library recognizes. And each Hardware pin on the Sensor is given a Connection ID.
So when we write pin 1: 1.1 Shunya OS understands it as <Sensor 1>.<Sensor pin 1> connected to pin 1 of Raspberry Pi(or your chosen device).
For Example: Let's say we have connected 2 devices to the Raspberry Pi (BME280 and PCF8591) to pin 3 (SDA) & pin 5 (SCL) respectively.
The Config file will look like this.
pin 3: [1.1, 6.1]
pin 4: null
pin 5: [1.2, 6.2]
tip
The configuration file allows you to quickly change the Sensors whithout changing the code.
Step 3: Read from sensor to get the desired value.
Start with an ready to use template for building with shunya stack
git clone https://gitlab.iotiot.in/repo-public/examples.git
cd examples/templateOpen the
main.cppin an text editor and modify as per your use case.Example main.cpp file:
/* --- Standard Includes --- */
#include <iostream>
#include <cstdlib>
#include <stdint.h>
#include <time.h>
#include <unistd.h>

/* --- RapidJSON Includes --- */
/* MANDATORY: Allows to parse Shunya AI binaries output */
#include "rapidjson/document.h"
#include "rapidjson/writer.h"
#include "rapidjson/istreamwrapper.h"
#include "rapidjson/stringbuffer.h"
#include "rapidjson/ostreamwrapper.h"
#include "rapidjson/filereadstream.h"

#include "subprocess.hpp" /* MANDATORY: Allows to run Shunya AI binaries */
#include "exutils.h" /* MANDATORY: Allows to parse Shunya AI binaries output */

/* --- Shunya Interfaces Includes --- */
#include <si/shunyaInterfaces.h> /* MANDATORY: Contains all IoT Functions */

using namespace std;
using namespace rapidjson;

int main(void)
{
    /* MANDATORY: Initializes the Shunya components */
    initLib();

    /* Write your code here */

}Write code to read the value from the sensor.
- Voltage
- Light Intensity
- Distance
- Heart Rate
- Liquid Flow
For reading data from Voltage sensor, write code
int16_t voltage = getAdc(ADC_CHANNEL); /* ADC_CHANNEL is channel number i.e 0, 1, 2 ... */
/* Replace ADC_CHANNEL with your connected channel */
if (voltage < 0) {
    printf("Error unable to read Voltage. Error number %d= ", errNum);
}For reading data from Light Intensity sensor, write code
int16_t lightIntensity = getLux();
if (lightIntensity < 0) {
    printf("Error unable to read lightIntensity. Error number %d= ", errNum);
}For reading data from Distance sensor, write code
int16_t distance = getCm();
if (distance < 0) {
    printf("Error unable to read distance. Error number %d= ", errNum);
}For reading data from Heart Rate sensor, write code
int16_t heartRate = getBpm();
if (heartRate < 0) {
    printf("Error unable to read heartRate. Error number %d= ", errNum);
}For reading data from Liquid Flow sensor, write code
int16_t waterflow = getLph();
if (waterflow < 0) {
    printf("Error unable to read waterflow. Error number %d= ", errNum);
}Once you are done editing, save and compile the code , by running
mkdir build && cd build
cmake ../
makeRun the code
sudo ./project-name