Azure IoT
warning
The document is a continuation of the previous document, if you have landed directly on this page then, Please read from page Get started.
What is Azure IoT?
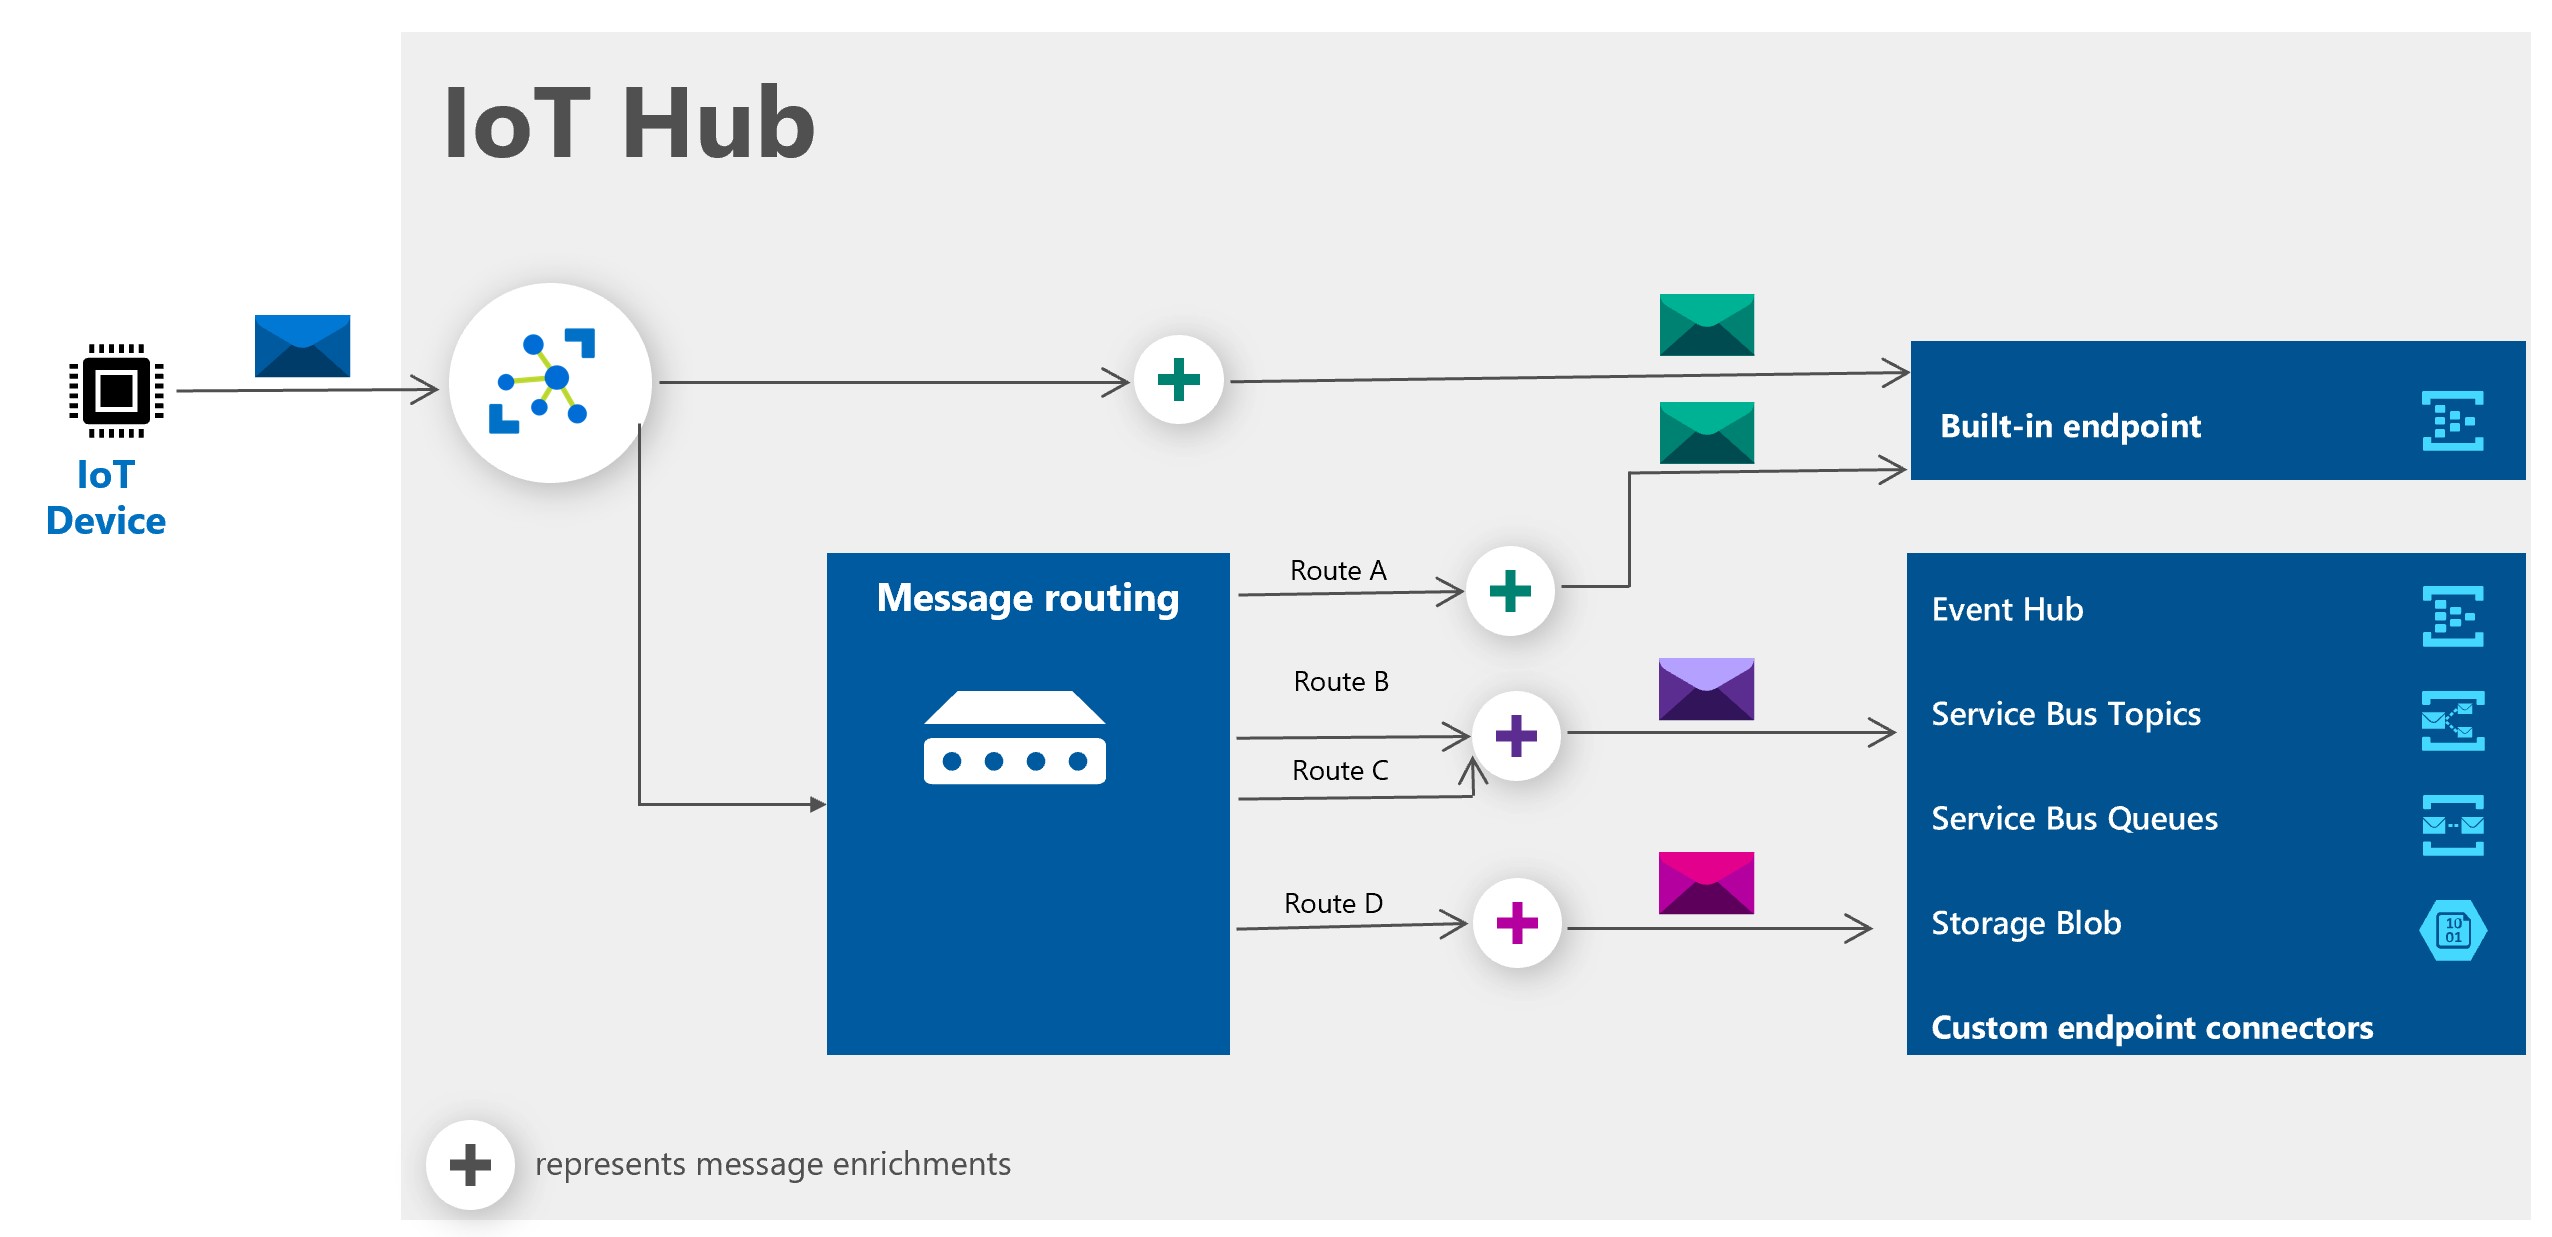
- Azure IoT is a message router hosted on Azure Cloud which allows the IoT devices to connect to Azure services.
- IoT device can send and receive messages to/from the Azure IoT.
Setup:
Requirements for using Shunya Interfaces Azure API's are:
- RPI with Shunya OS Installed
- Azure account.
Requirements to connect to Azure IoT
Azure IoT Hub is the service which receives data from the IoT device.
To connect to Azure IoT hub you need
- Azure IoT hub name
- Azure IoT device ID
- SAS token for Azure IoT device
Creating a new IoT Hub in the Azure Portal
Login to the Azure portal: https://portal.azure.com/#home
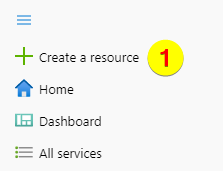
Click on “Create a resource”:
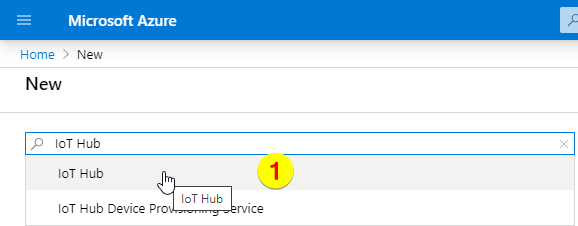
Put in and choose “IoT Hub”:
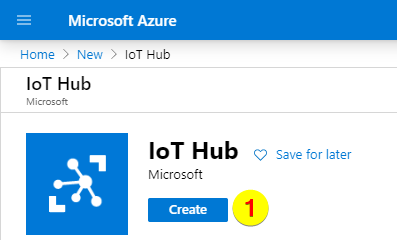
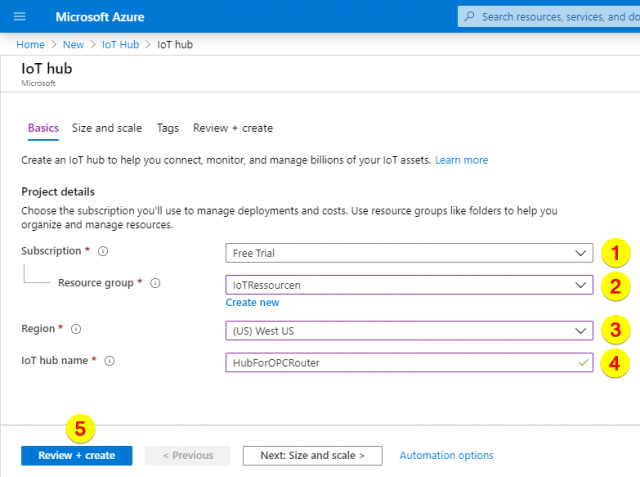
Create the IoT Hub:
Put in the following data: Subscription (1) Resource group (2) Region (3) IoT hub name (4) After that click on “Review + create” (5):
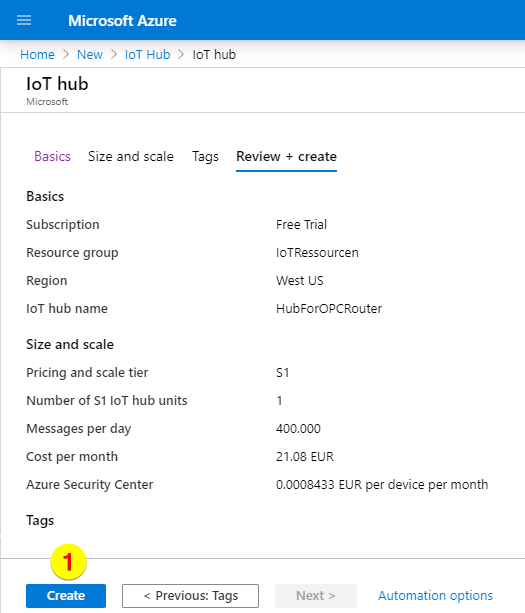
Review and create:
Creating a new IoT device in the Azure Portal
Open the Azure IoT Portal > IoT Hub > IoT Devices tab and click the New button on top

Name the IoT Device and set the other options as shown in the image and Save

The Device will be added to the IoT devices list, click on the device name.

Generating SAS token for Azure IoT device
To generate the SAS token you need to run these commands
# Install azure cli
sudo apt install azure-cli
# Login into azure cli
az login
# Run this command to generate the SAS token
az iot hub generate-sas-token -d <device-id> -n <iot-hub-name>
The SAS token will be printed on the command line, copy it and store it into the config file.
Configuration:
Write json configuration in /etc/shunya/config.json file.
For example:
{
    "azure": {
        "azureIotHubName": "test-rtu",
        "azureIotPort": "8883",
        "azureIotDeviceId": "rpi",
        "azureIotSASToken": "SharedAccessSignature sr=test-rtu.azure-devices.net%2Fdevices%2Frpi&sig=xdjHBKXId59oBeEdUXj0UPmunu0yfdPcH1Atb23%2FU4Q%3D&se=1599563270",
        "azureIotRootCA" : "../certs/IoTHubRootCA_Baltimore.pem"
    }
}
Using the Azure Shunya Interfaces API
Primary uses of Azure Shunya Interfaces API's are
- Send data to Azure cloud
Send Data from Azure cloud
Step 1: Write Code to Send data to Azure IoT core
/* Create a new Azure instance */
azureObj azure = newAzure("azure"); /* Argument = JSON Title, Load settings from JSON file */
int32_t rc;
/* Connect to Azure IoT */
rc = azureConnectMqtt(&azure);

/* Check if Successfully connected to Azure IoT */
if (rc < 0) {
    exit(-1); /* Exit with failure */
}

/* Dummy value for publish */
float temp = 28.7;

while (1) {
    /* Publish the value to Azure IoT */
    rc = azureSendTelemetry(&azure, "{ \"temperature\": %.2f }", temp);

    /* Check if Successfully published to Azure IoT */
    if (rc < 0) {
        printf("Error code = %d\n", rc);
    }
    /* Delay and then send the next message */
    delay(1000);
}
info
Checkout ready-to-use Azure example
Ready to use example provides sample code and sample cmake, which can be used to quickly get-started using the component.
Step 3: Compile and Run code
To compile and Run code
- Clone the program
git clone https://gitlab.iotiot.in/repo-public/examples.git
cd examples/demo-examples/send-data-to-azure - Compile the program
mkdir build && cd build
cmake ../
make - Make sure that you have written the mqtt configuration in "/etc/shunya/config.json"
{
    "azure": {
        "azureIotHubName": "test-rtu",
        "azureIotPort": "8883",
        "azureIotDeviceId": "rpi",
        "azureIotSASToken": "SharedAccessSignature sr=test-rtu.azure-devices.net%2Fdevices%2Frpi&sig=xdjHBKXId59oBeEdUXj0UPmunu0yfdPcH1Atb23%2FU4Q%3D&se=1599563270",
        "azureIotRootCA" : "../certs/IoTHubRootCA_Baltimore.pem"
    }
} - Run the code
sudo ./azure